It's almost Easter and that means Easter cookies! I thought I'd do a quick tutorial on some very easy carrot bundles. I started out planning to do this a bit differently than they turned out. The tops of carrot stalks are sort of hard to imitate, they're not quite fuzzy but have so many parts to the leaves that you really can't do them individually. I sketched these cookies out planning to use stiff icing to make the tops using squiggly lines, but once I started doing that it really looked awful! So, I grabbed my trusty paint brush and went to work. But I'm getting ahead of myself, let's start at the very beginning ( *sing with me!* it's a very good place to start...).
This year I wasn't keen on doing individual carrots, they just didn't excite me but I loved the idea of a bunch of carrots, only problem was that I didn't have a cutter for that. So, after sorting through my boxes I settled on this shooting star, pointed bottom for carrots and the star part for the leaves.
This year I wasn't keen on doing individual carrots, they just didn't excite me but I loved the idea of a bunch of carrots, only problem was that I didn't have a cutter for that. So, after sorting through my boxes I settled on this shooting star, pointed bottom for carrots and the star part for the leaves.
What you'll need:
1-baked cookies, use the shooting star or whatever else you think might work
2-orange and green 20 second icing (you can use whatever tip you like, I used PME 1.5 tips)
3-paint brush
1-baked cookies, use the shooting star or whatever else you think might work
2-orange and green 20 second icing (you can use whatever tip you like, I used PME 1.5 tips)
3-paint brush

To start, simply pipe a few carrots onto the bottom part of the cookie with your orange 20 sec icing. Easy-peasy. They don't need to be perfect, have you seen real carrots from the garden? They're all different and potentially funky looking. We grew carrots that looked like toes ones year, they boys LOVED them!
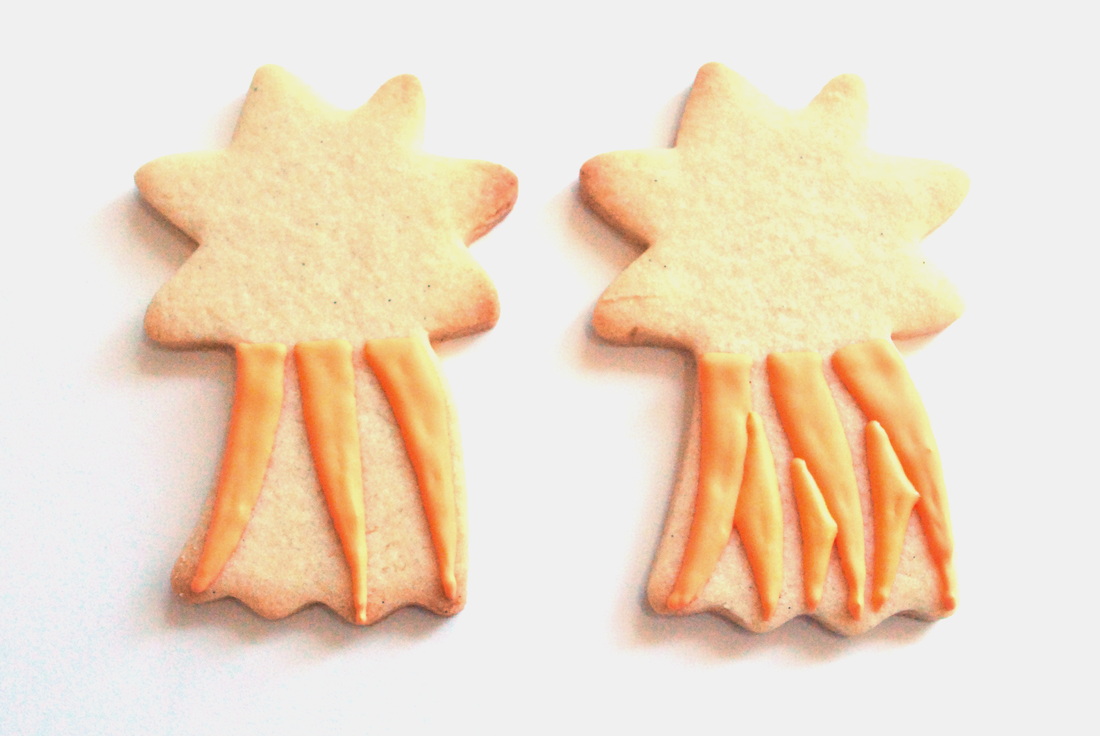
Let those sit for a bit, I can't remember how long I let them dry, long enough to be Capt. Hook and chase my little Peter Pans around the yard for a while. Then go back and add some more carrots to look like they are underneath the first ones.
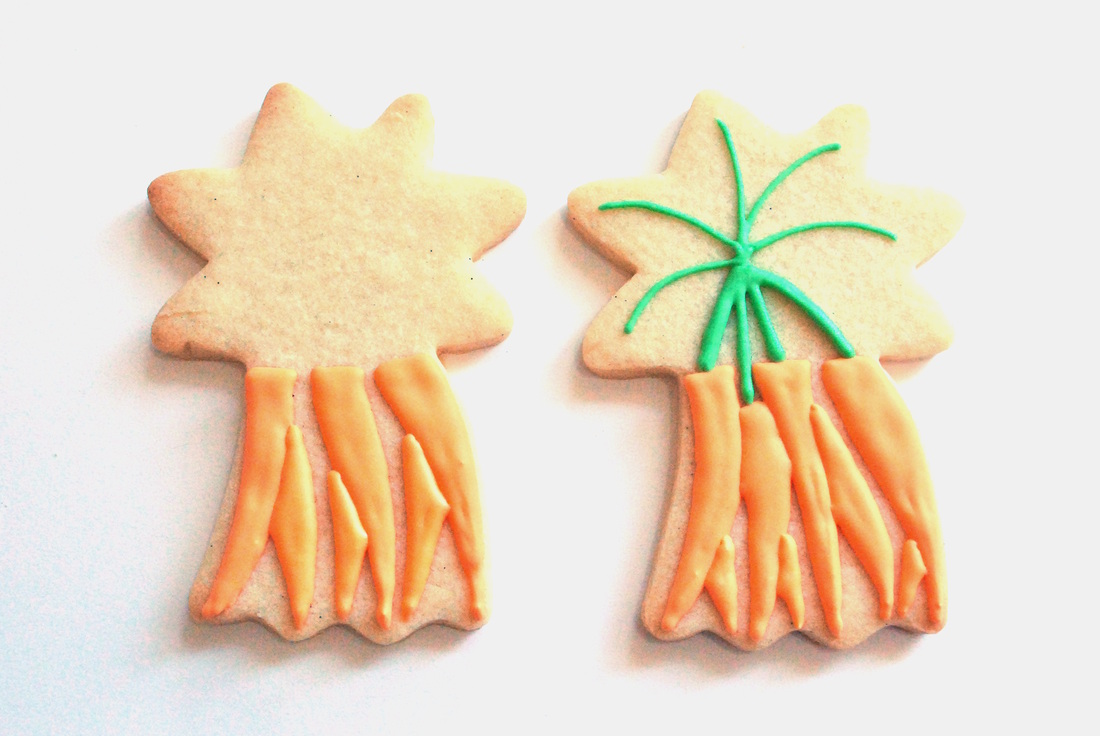
Next, grab your green icing and draw some stems coming up from the carrots, make them meet somewhere in the middle of the star part of the cookie. Then draw some lines going out from there to the points.
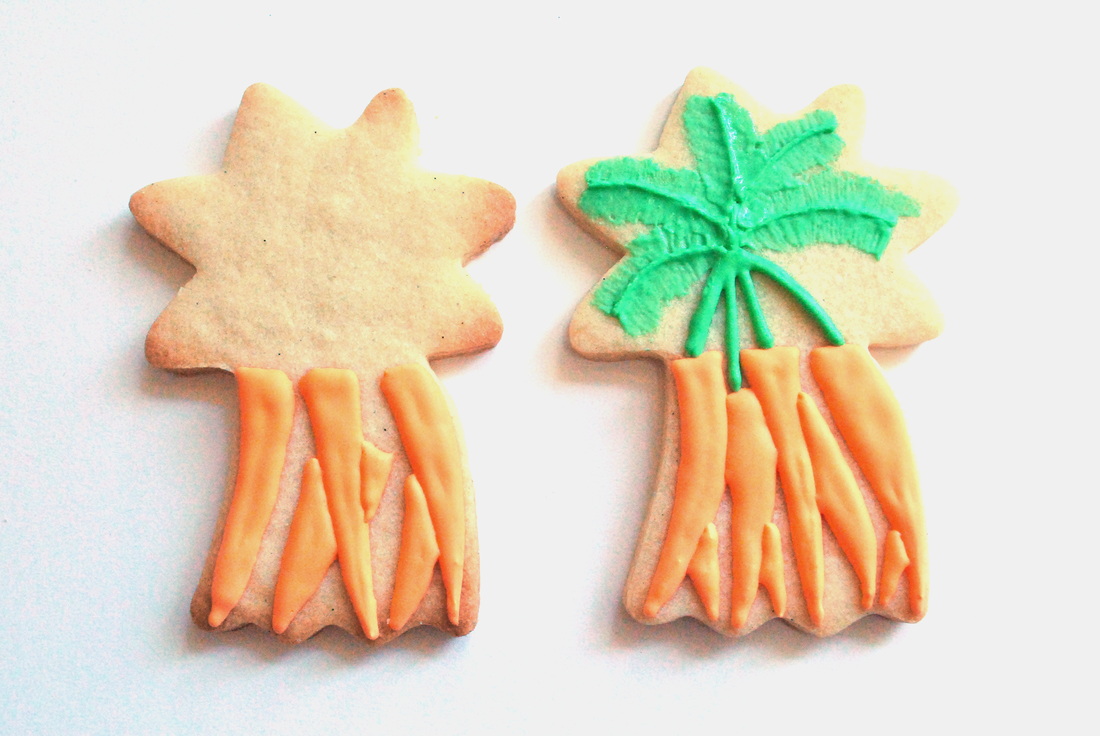
For the next step you'll need your paintbrush handy. Pipe a green line on either side of your green lines that go towards the points, does that make sense? Then take your dry brush (I used a pretty big one) and pull/brush the icing outward. Again, this does not have to be perfect, you sort of want a highly textured and messy look to it. Do one part at a time, you don't want the icing to dry before you have a chance to brush it.
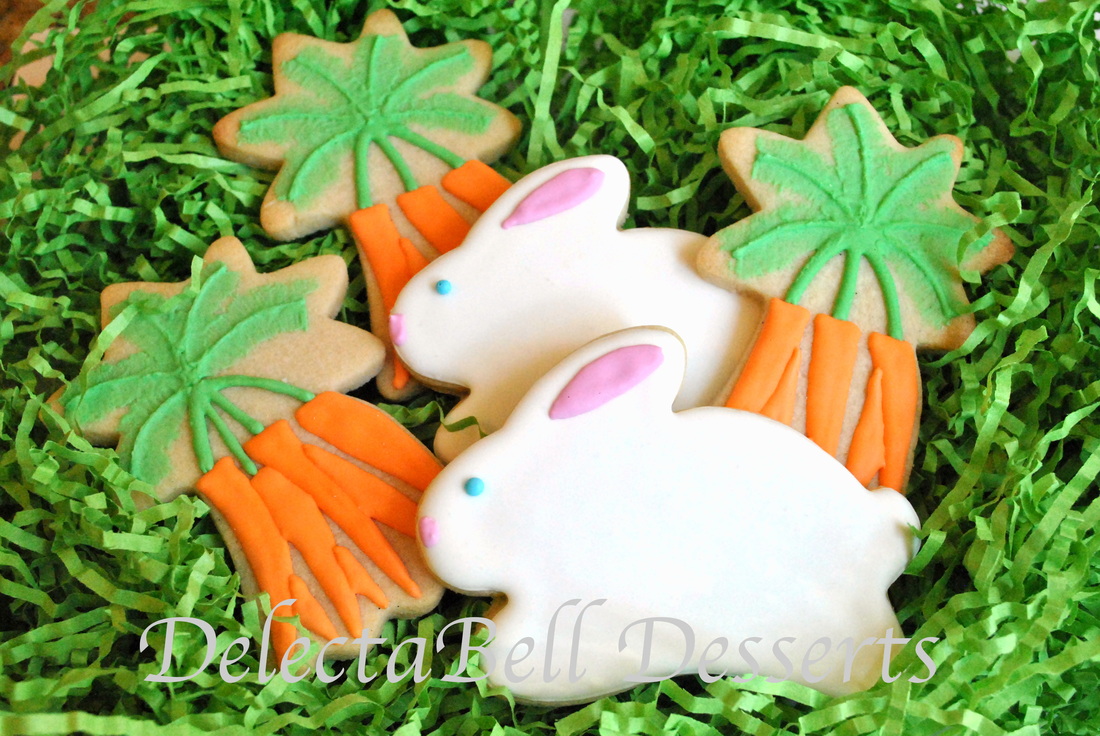
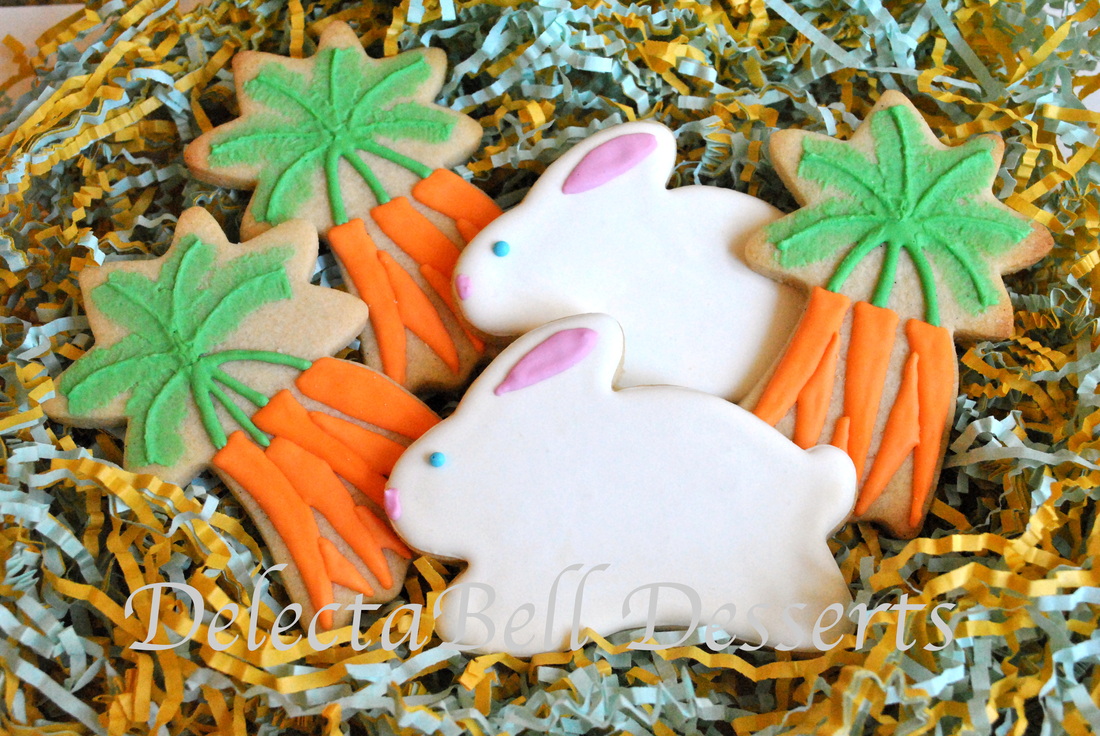
And with that, you have some super easy, super cute carrot bunches. Pair them with some hungry bunnies and they're perfect for anyone's Easter basket!
(I have to add that I am using these for my submission to Lila Loa's March challenge. To change up my photography on this set I did a little playing around with pre-setting my white balance. I've never done that before, I usually just go with auto and edit on the computer. This time I actually used a white card and set that as the white balance in the camera. I also used the Easter grass instead of a plain, flat background. I'm pretty pleased!)
(I have to add that I am using these for my submission to Lila Loa's March challenge. To change up my photography on this set I did a little playing around with pre-setting my white balance. I've never done that before, I usually just go with auto and edit on the computer. This time I actually used a white card and set that as the white balance in the camera. I also used the Easter grass instead of a plain, flat background. I'm pretty pleased!)


 RSS Feed